OTUs
Overview
In Virtool, references are collections of OTUs (organization taxonomic unit), their isolates, and genomic sequences.
Virtool references are fully editable and tracked. The data is used to identify potential pathogen infections in Illumina libraries derived from your samples.
Structure
An OTU typically represents a single pathogen species.
Each OTU is itself a collection of isolates. In Virtool, isolates include strains, genotypes, or variants of the same OTU. An isolate can have one or more genome sequences attached to it.
An OTU must contain one or more isolates and each isolate must have one or more sequences attached to it.
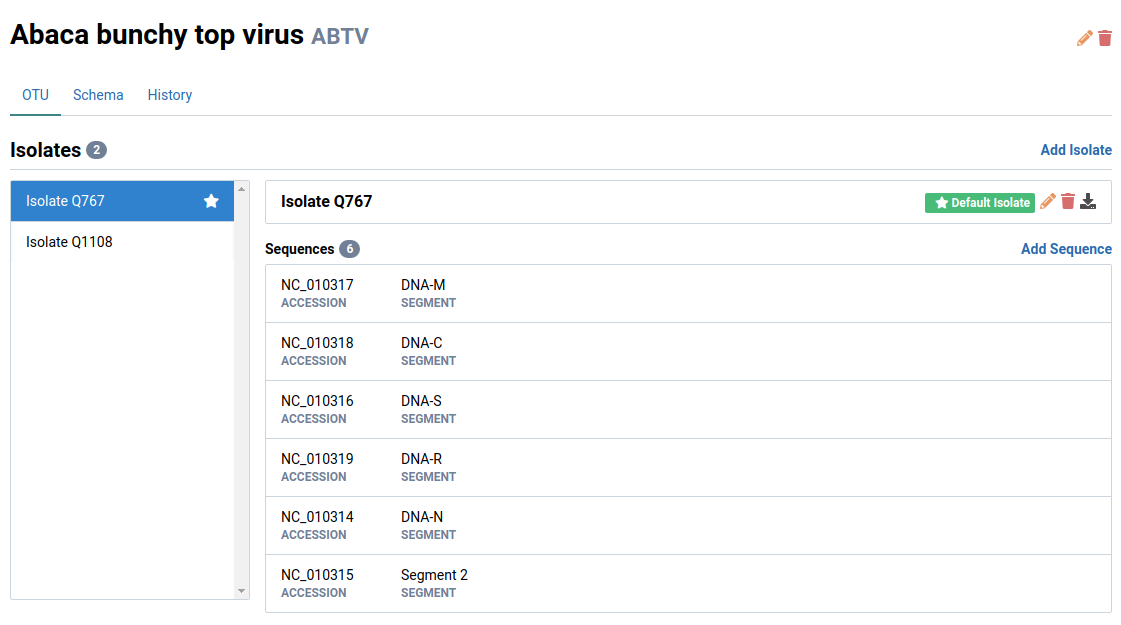
Here is the structure of a single viral OTU containing one isolate and its sequences:
Isolate naming
Virtool isolates are named with two pieces of information: the source type and source name. This naming system was inspired by the way isolate information is stored in GenBank records.
A source type is the first word in the isolate name and is a classification keyword used by the publisher of the sequence. Examples include strain, genotype, culture, and variant. Source type keywords aren’t standardized in GenBank.
A source name is the unique second part of the isolate name that identifies the isolate.
Here are some examples of isolate names, source types, and source names:
| Name | Source Type | Source Name |
|---|---|---|
| Isolate A | Isolate | A |
| Isolate Shenyang | Isolate | Shenyang |
| Variant B | Variant | B |
| Genotype 6 | Genotype | 6 |
Schemas
In Virtool, OTU schemas are a way of defining what each isolate in the OTU should look like.
Schemas allow you to define what sequence segments should be present in isolates created for the OTU. Once a schema is defined, users can mark each sequence in the isolate with the segment it represents. Assigning a segment to a sequence has the following effects:
- sequences in the OTU detail view are sorted according to the schema order
- sequences in the OTU detail view sequence headers display the segment name instead of the definition
- sequences coverage charts in Pathoscope are sorted by the schema order
History
All changes made to OTUs are tracked. Change records include a description of what was changed, the timestamp, and the user responsible.
The history for an OTU can be viewed in its detail view under the History tab. Changes are separated into those that have been made since the last index build (Unbuilt Changes) and those included in previous builds (Built Changes) by clicking on the icon.
See more information about history.
Browse OTUs
The examples in this guide use Abaca Bunchy Top Virus (ABTV) and Tobacco Mosaic Virus (TMV), with SXFQ as the name of an isolate.
The OTUs that belong to a Virtool reference can be easily browsed and edited. To start browsing member OTUs for a given reference:
-
Click References in the main navigation bar
This shows a list of all references.
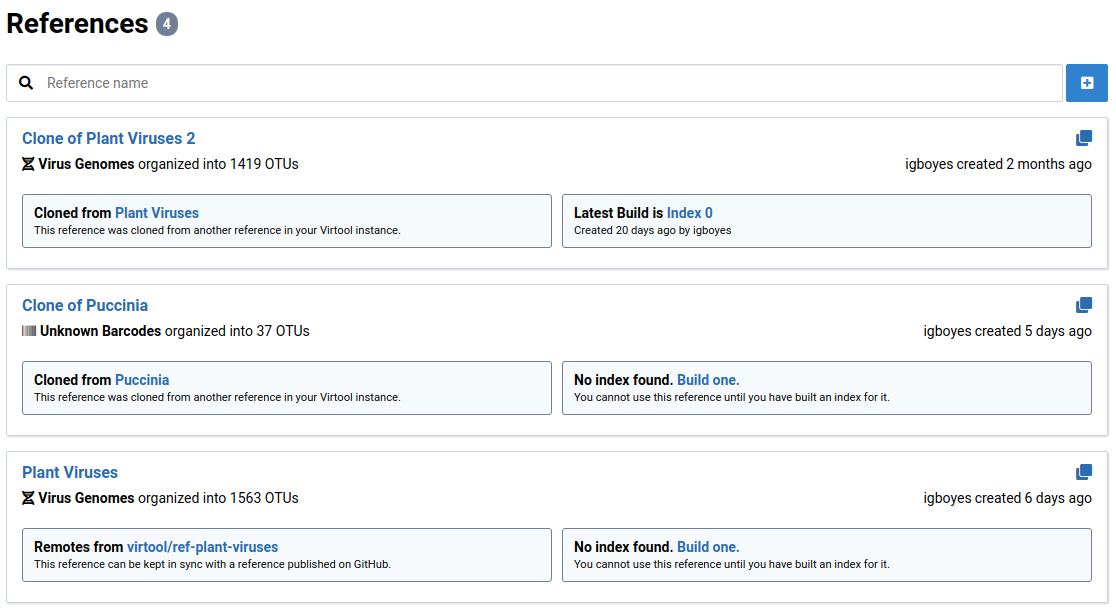
-
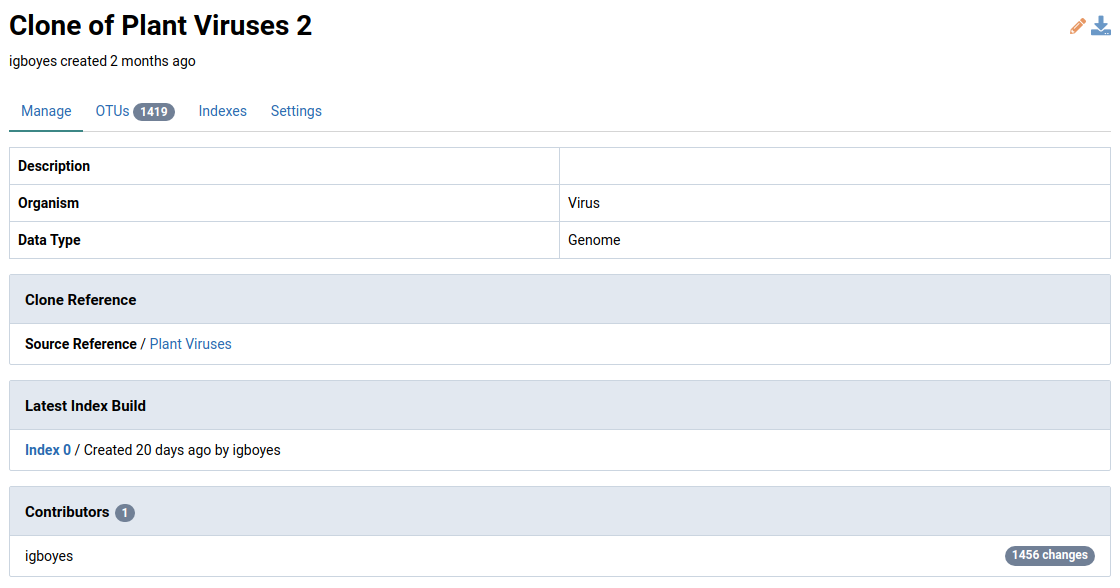
Click the reference of interest
This opens the detail view for the reference.
-
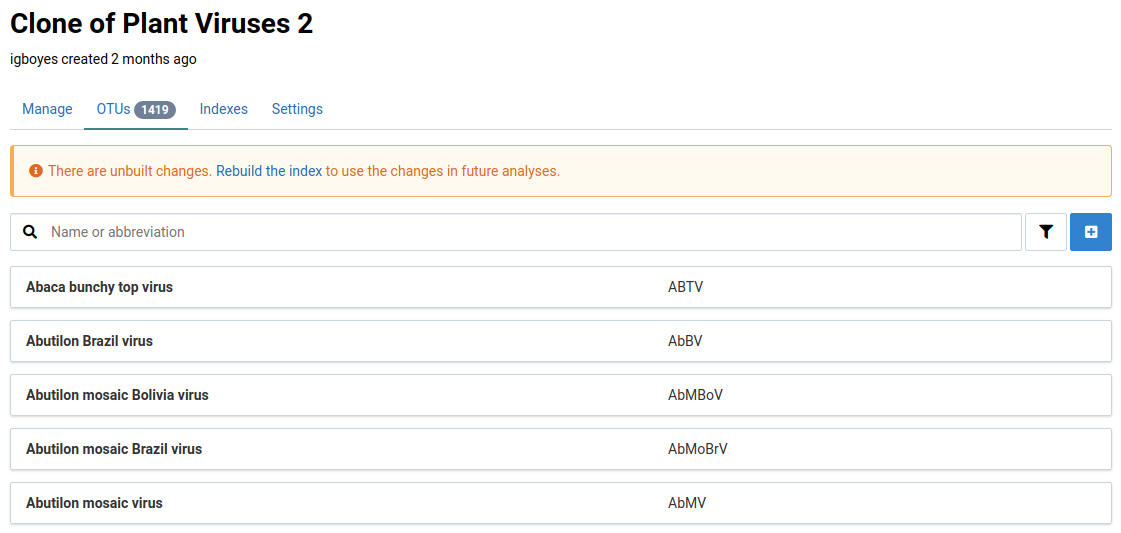
Navigate to the OTUs tab
This view shows the OTUs that belong to the reference
-
Click an OTU item to view its detail page
Create an OTU
Creating a new OTU for a given reference requires only a name. You can optionally provide an abbreviation like those commonly used for viruses.
-
Click under the OTUs tab
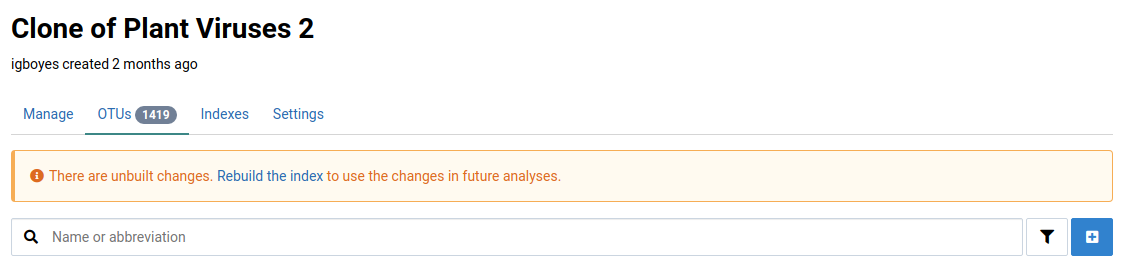
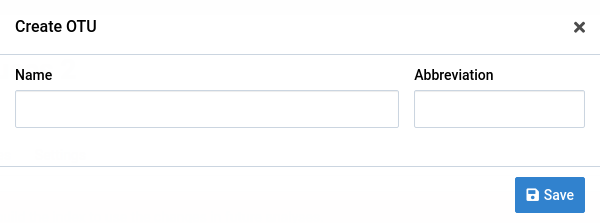
A dialog appears with a form for creating a new OTU.
-
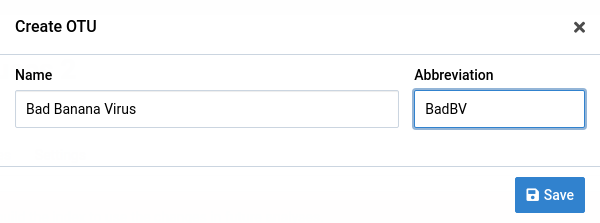
Enter a name and optionally an abbreviation for the new virus
-
Click Save to create the new OTU
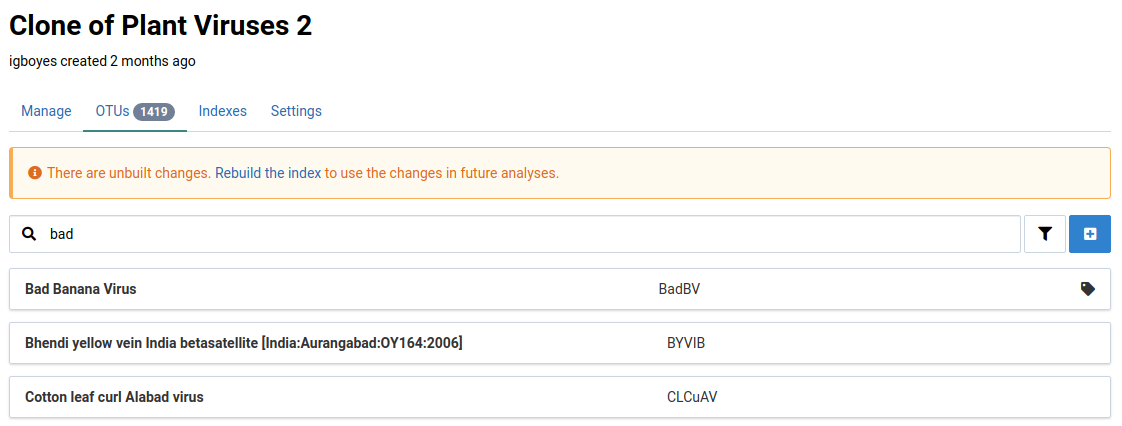
It should now appear in the list of OTUs for this reference.
-
Click the newly created OTU
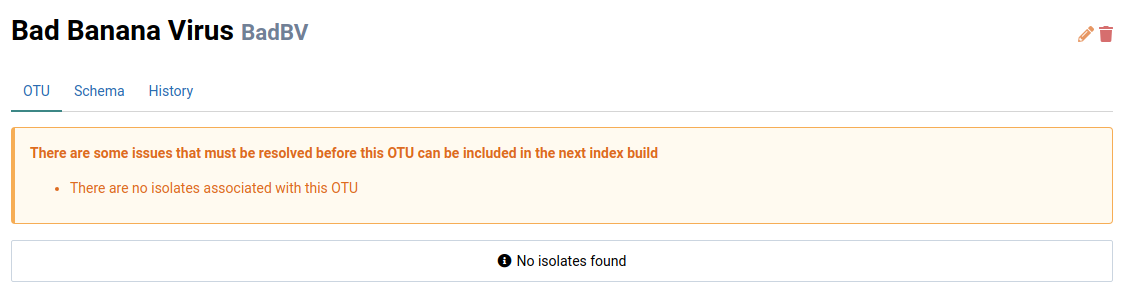
This navigates to the OTU’s detail view. Notice that there is a warning indicating that the OTU isn’t ready for use in analyses.
Edit an OTU
The name or abbreviation for an OTU can be changed after its creation.
-
Navigate to the detail view for the OTU you want to edit
-
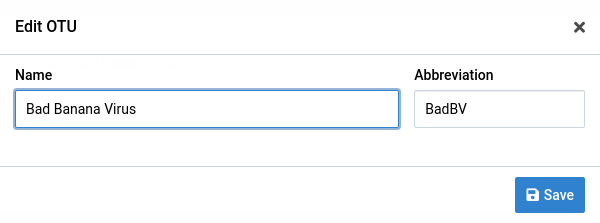
Click the icon in the top-right
This displays the edit dialog. Note that you don’t see this icon if you don’t have modification rights on the parent reference.
-
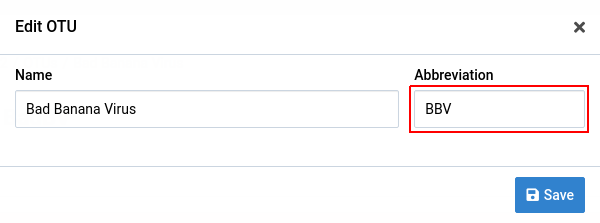
Change any of the fields and click Save
The abbreviation is changed in this example.
Remove an OTU
-
Navigate to the detail view for the OTU you want to delete.
-
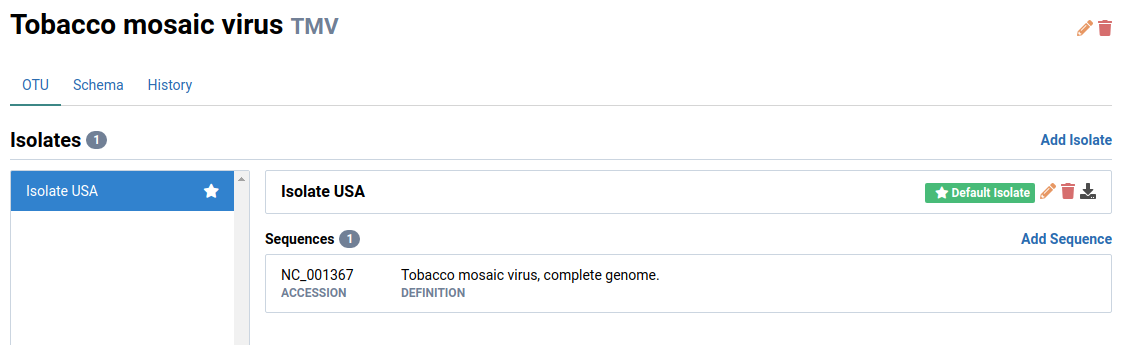
Click the topmost next to the OTU name
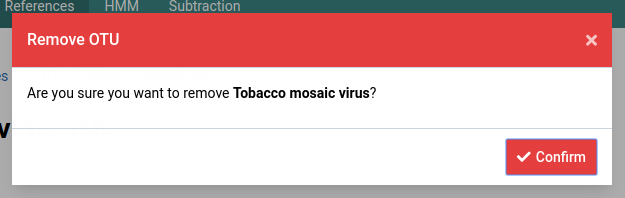
A dialog box like the one below shows up to confirm the deletion of the OTU.
-
Click the Confirm button to permanently remove the OTU
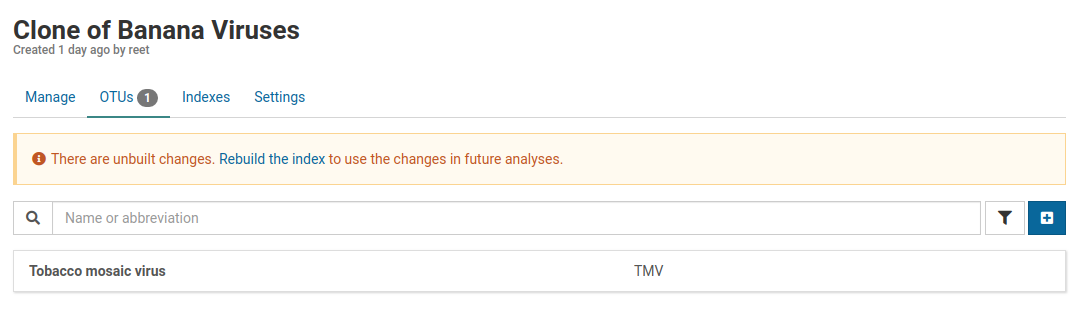
The OTU is removed from the OTUs list and the index must be rebuilt to include this change in future analyses.
Add an isolate
Isolates are how sequence data is organized within the OTU record. Read about isolates in the section overview.
-
Navigate to the detail view for an OTU
-
Click Add Isolate to the right of the Isolates heading
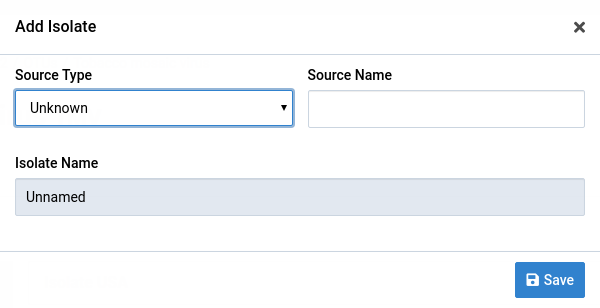
This displays a dialog for creating isolates.
-
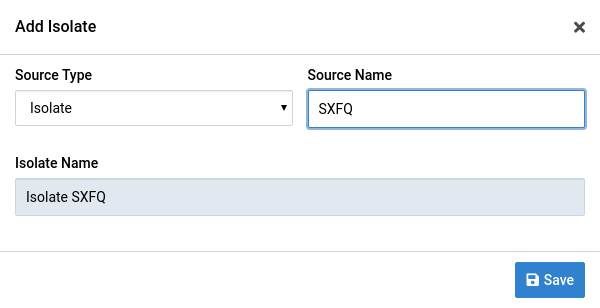
Fill the form with your source type and source name values
Notice that the Isolate Name field changes with the other two fields. Both fields are optional and the isolate name is Unnamed if they’re both empty. Isolate names don’t have to be unique within an OTU.
-
Save the changes by clicking Save
The new isolate appears in the isolate editor
Edit an isolate
-
Navigate to the OTU whose isolate you would like to edit
-
Select the isolate you want to edit
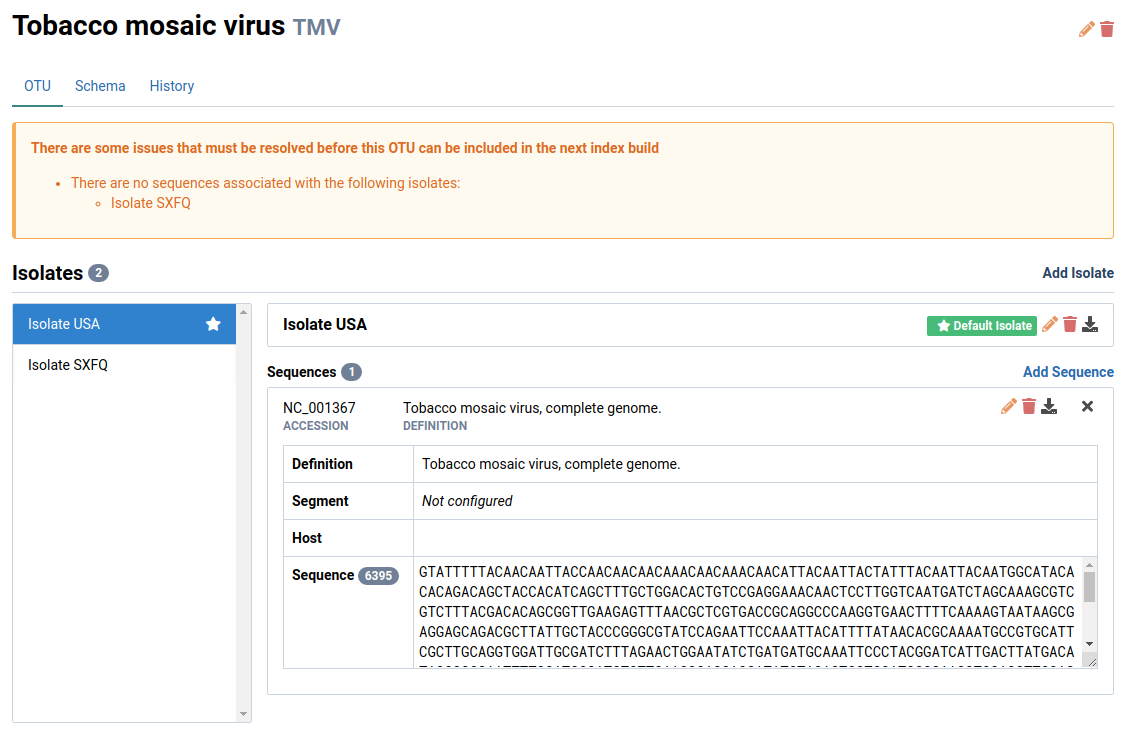
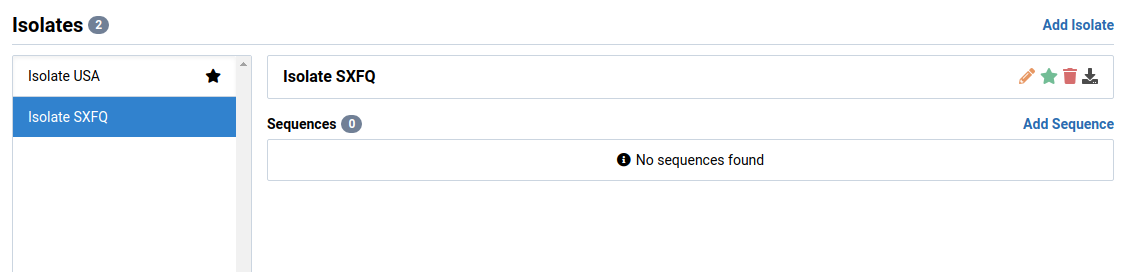
Isolate SXFQ is selected in this example. This isolate is new and has no sequences associated with it.
-
Click the icon next to the isolate
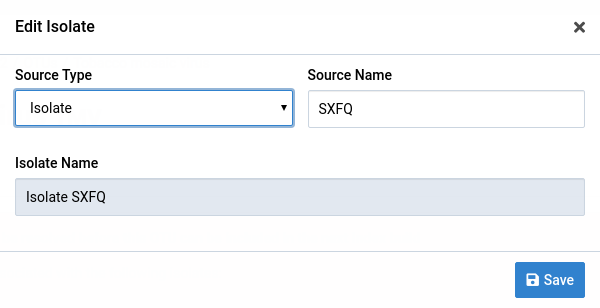
A dialog box shows up like the one below. The fields are populated with the current isolate data.
-
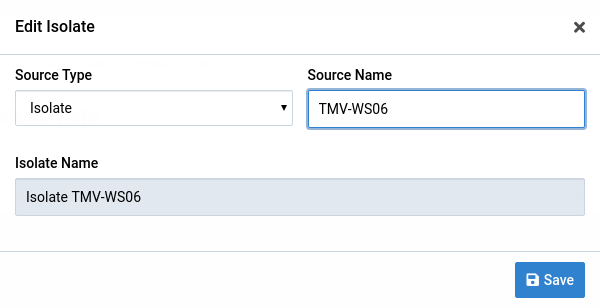
Make the necessary changes to the isolate
In this example, the source name changes to TMV-WS06.
-
Click Save
The new changes are reflected in the OTU detail view.

Remove an isolate
-
Select the isolate you would like to remove
-
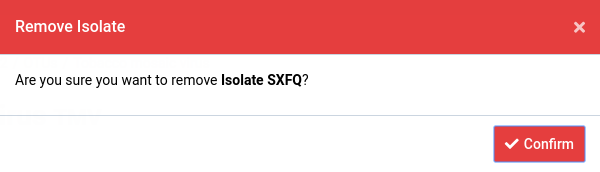
Click the next to the isolate name
A removal confirmation dialog like the one shown below appears.
-
Click the Confirm button to permanently delete the isolate
The isolate should now be removed from the Isolates list.
Add a sequence
-
Select the isolate you want to add a sequence to
-
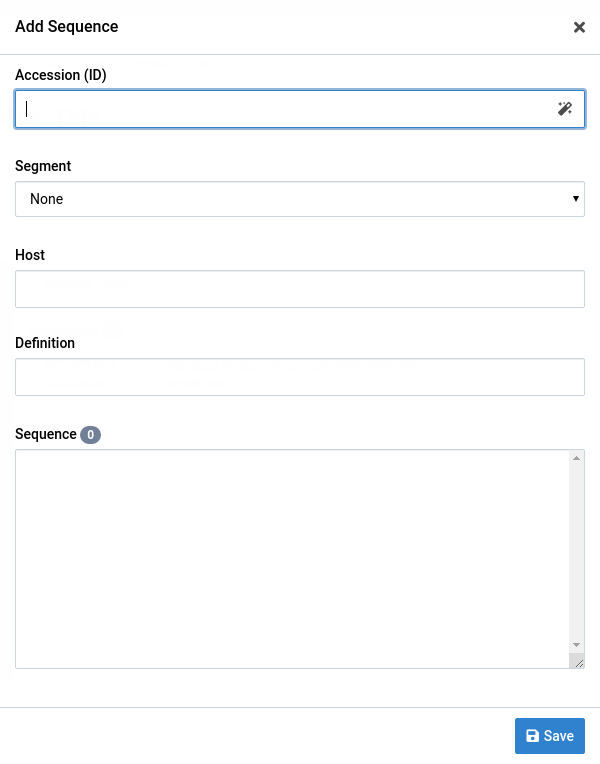
Click the Add Sequence link near the Sequences heading
This displays the Add Sequence dialog
-
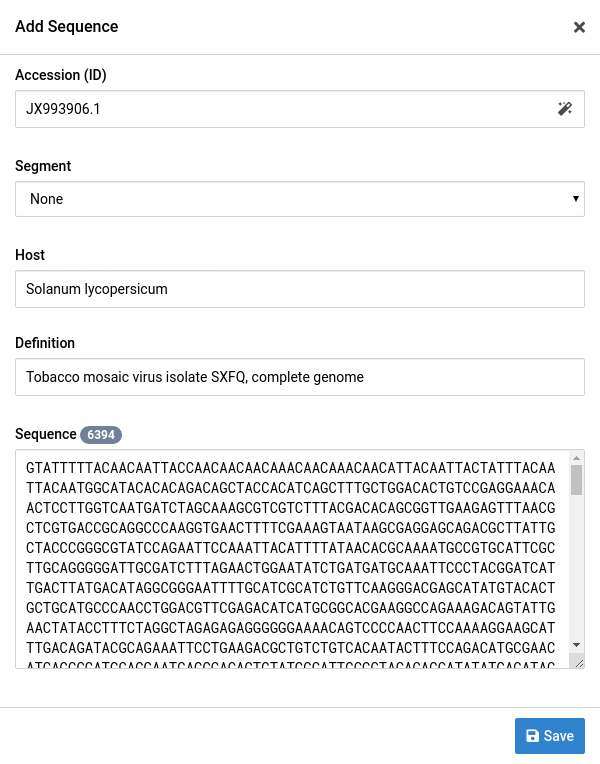
Fill out the form fields
You can pull sequence records from GenBank by entering a valid GenBank accession in the Accession field and clicking the icon.
-
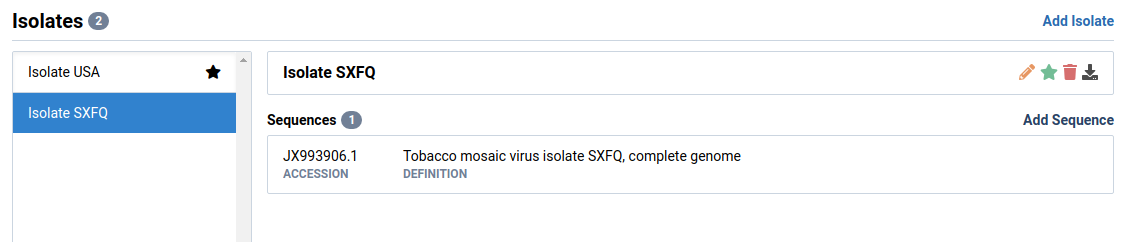
Click Save to create the new virus
It appears in the isolate editor.
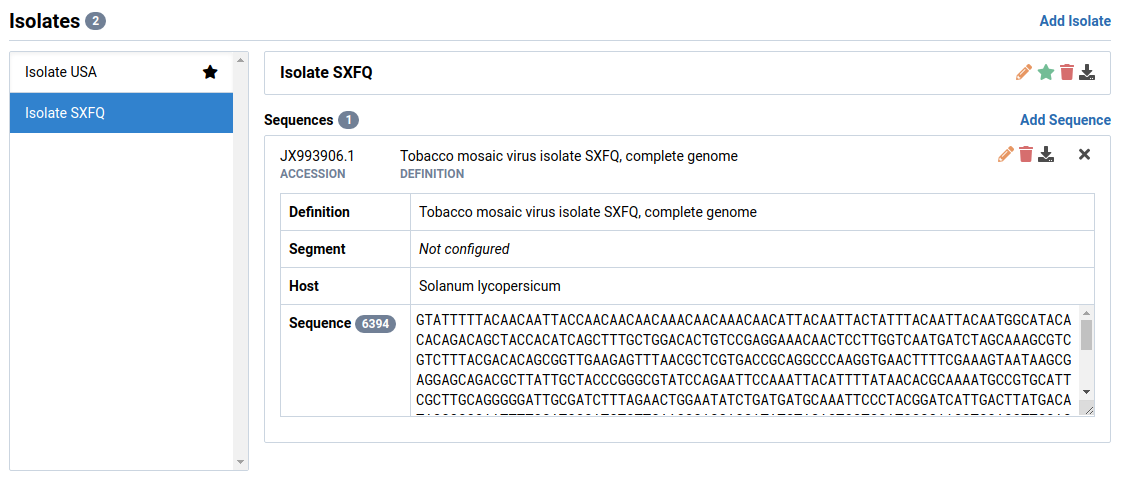
-
Click the sequence entry to expand it
Edit a sequence
-
Select the isolate and sequence you want to edit
Here, sequence JX993906.1 is selected in Isolate SXFQ.
-
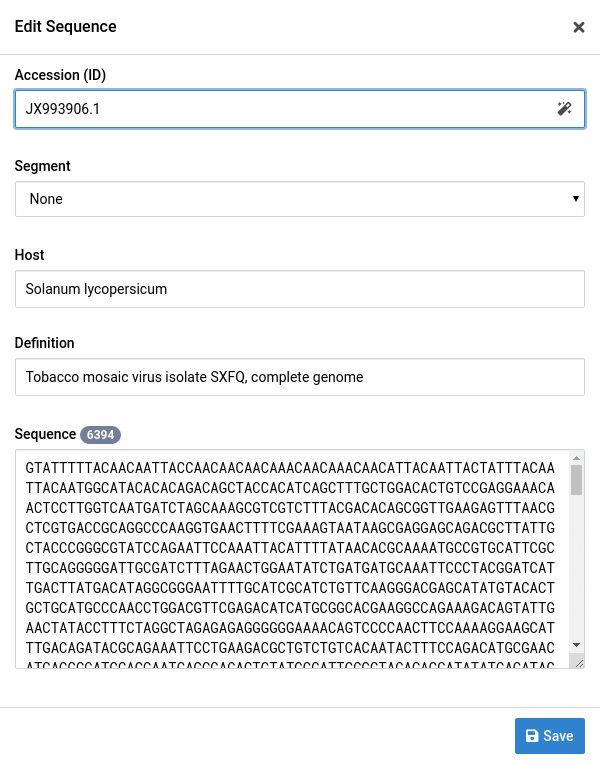
Click the icon in the sequence header
The Edit Sequence dialog appears.
-
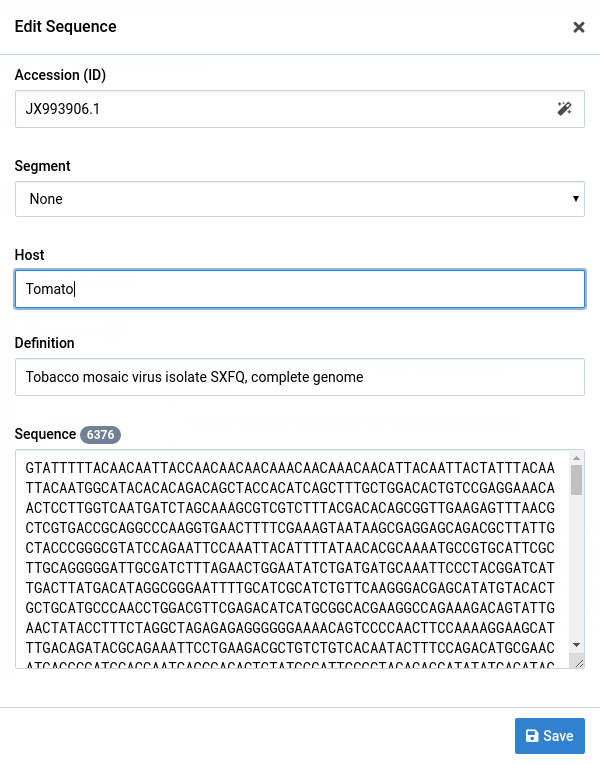
Make your changes to the sequence
Here, the host field was changed from Solanum lycopersicum to Tomato.
-
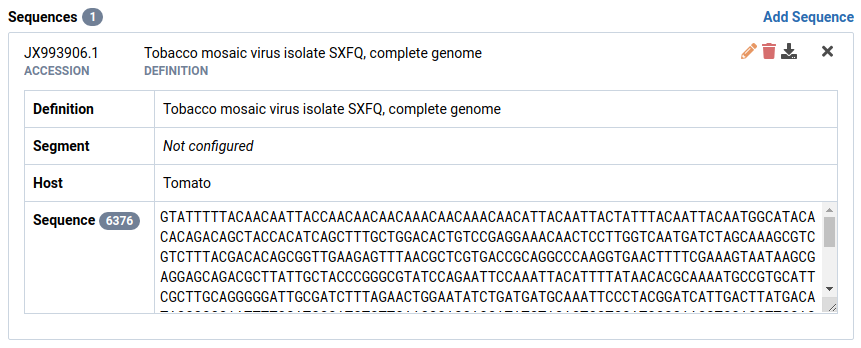
Click Save to save your edits
Notice that the changes have been applied on the sequence record.
Remove a sequence
-
Select the sequence you want to remove
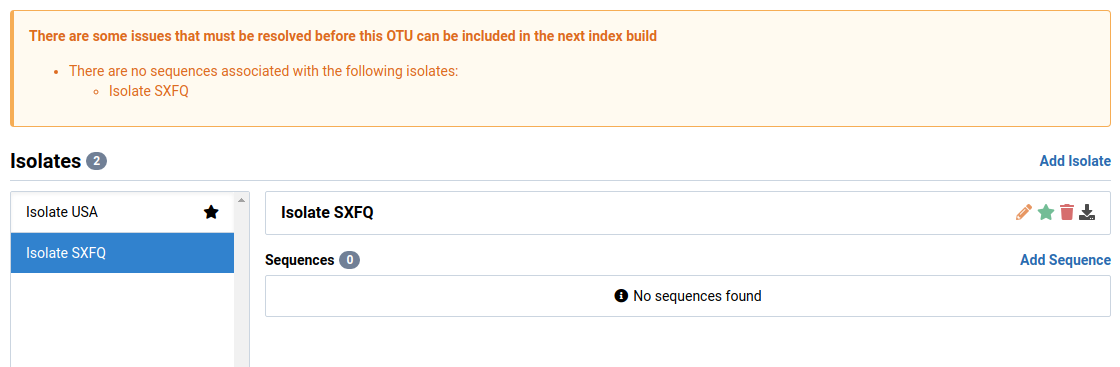
Here, sequence JX993906.1 is selected in Isolate SXFQ.
-
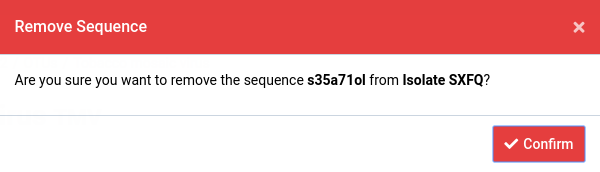
Click the next to the sequence header
A dialog box like the one shown below shows up.
-
Click Confirm to permanently delete the isolate
The sequence should now be removed from the Sequences list.
Add a segment
-
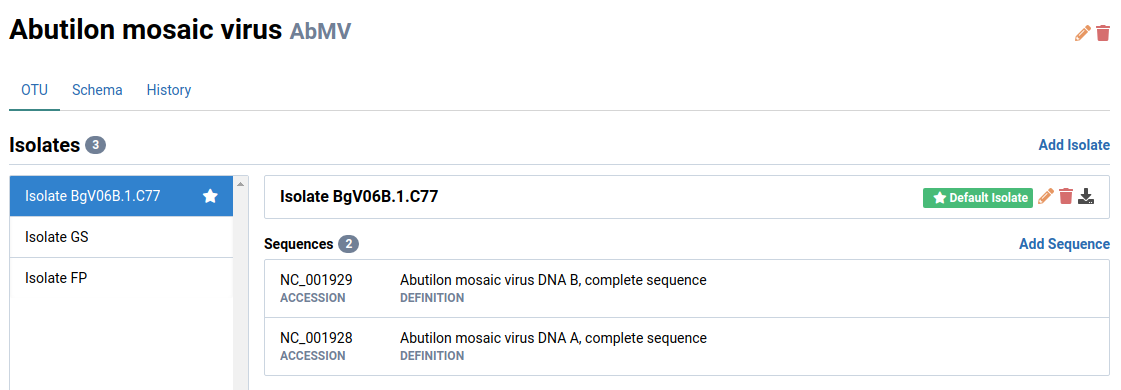
Navigate to an OTU you want to define a schema for
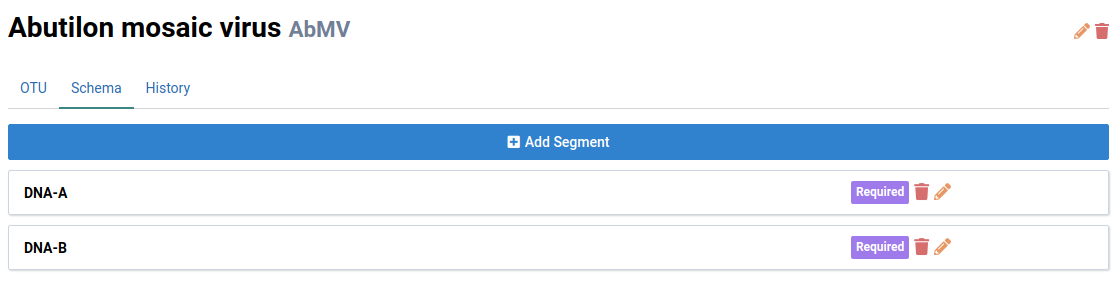
This example uses Abutilon mosaic virus (AbMV). Notice that AbMV has two genome segments: DNA-A and DNA-B.
-
Navigate to the Schema tab.

-
Click Add Segment
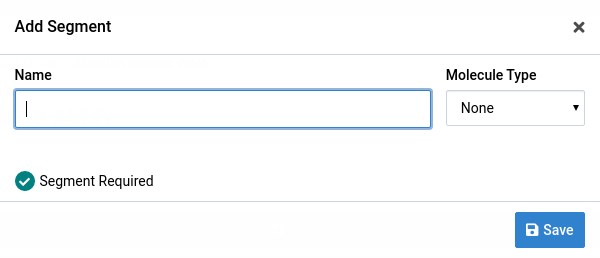
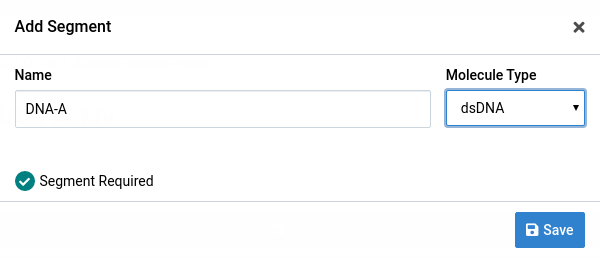
The Add Segment dialog box appears.
-
Fill the form field
Give the segment a name and select a Molecule Type. AbMV has a circular single-stranded DNA genome.
The Segment Required checkbox indicates that the segment must be present in an isolate for is to be valid.
-
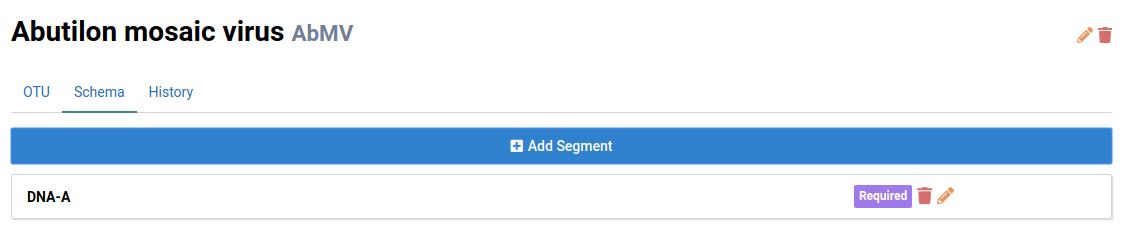
Click Save to add the segment
The new DNA-A segment is displayed in the schema list.
-
Add DNA-B to finish populating the schema
Edit a segment
-
Locate the segment you want to edit
The name of DNA-A is changed.
-
Click the icon
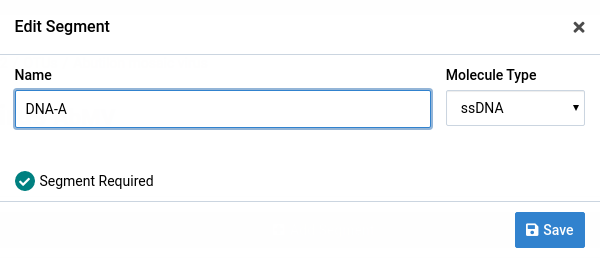
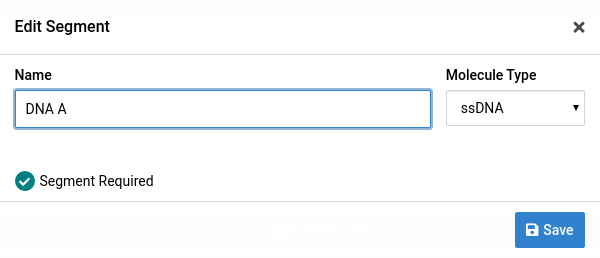
The Edit Segment dialog appears. The form is populated with the current segment data.
-
Make your changes to the segment
Here, the name changes from DNA-A to DNA A.
-
Click Save
The updated name appears under the Schema tab.

Use a segment
Once you have defined a schema for an OTU, you can set a segment on each isolate sequence when adding or editing them.
-
Check the schema for the OTU
DNA-A and DNA-B are defined for AbMV. The segments are ordered alphabetically.
-
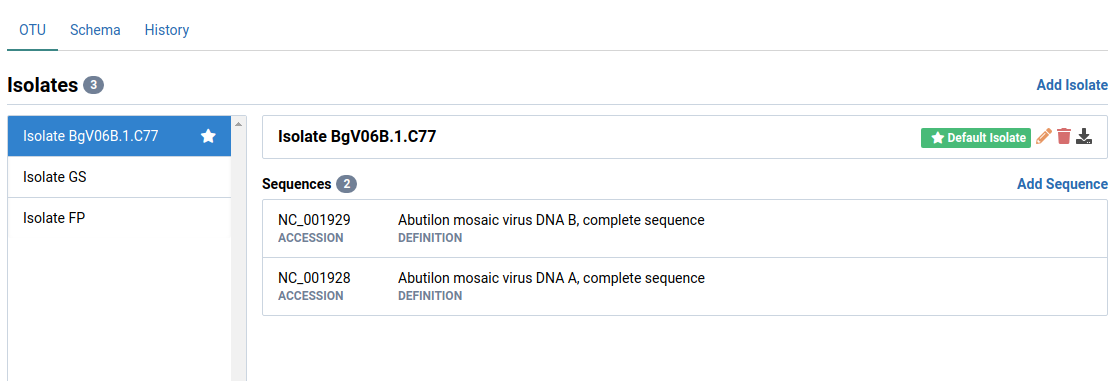
Navigate to the OTU tab and select and isolate
-
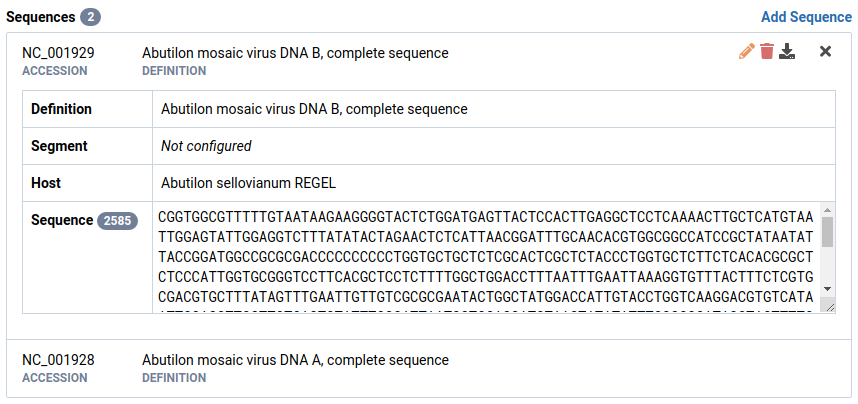
Select a sequence
Here, NC_001929 is selected. Notice that the Segment field isn’t configured.
-
Click the icon
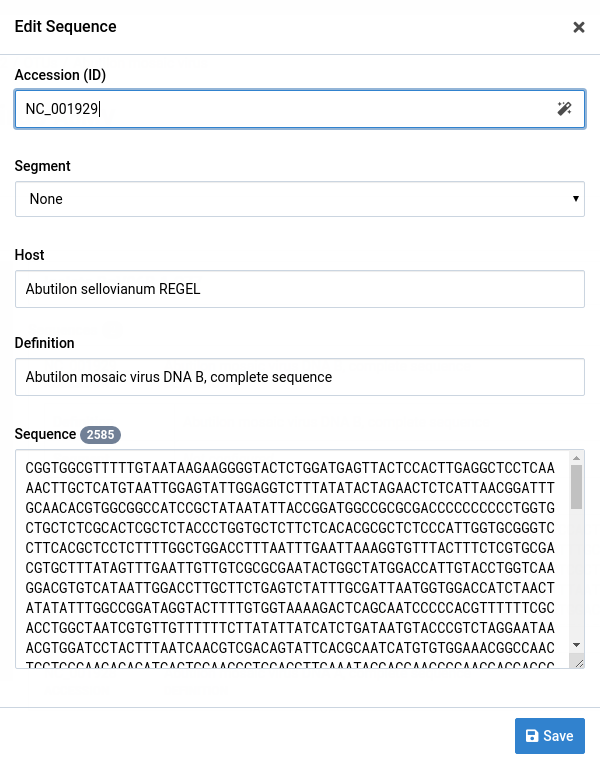
The Edit Sequence dialog appears.
-
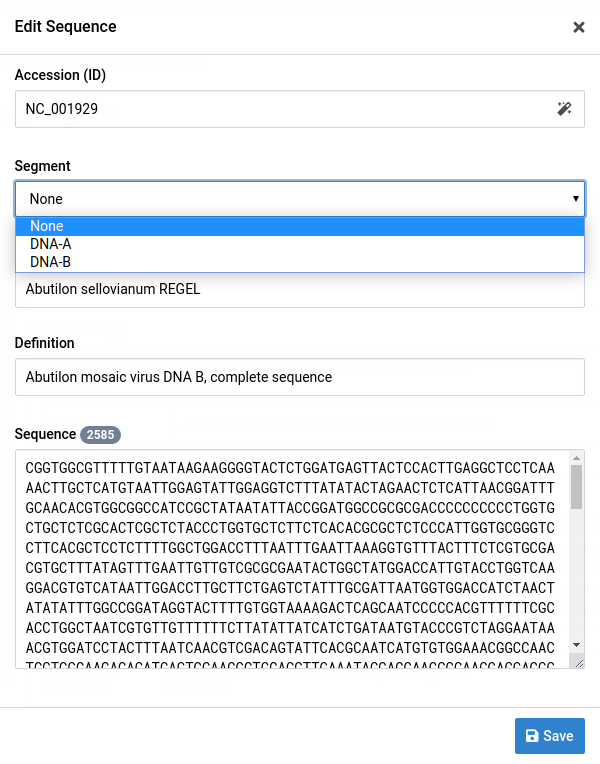
Click the Segment dropdown
The segments defined in the schema are available for selection.
-
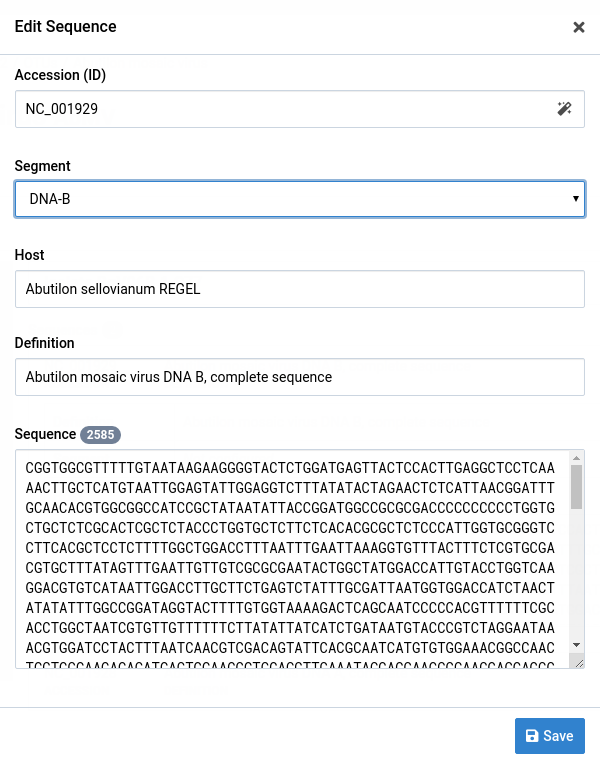
Select the segment for your sequence
Here, select DNA-B to match the information from the GenBank-sourced definition for the sequence.
-
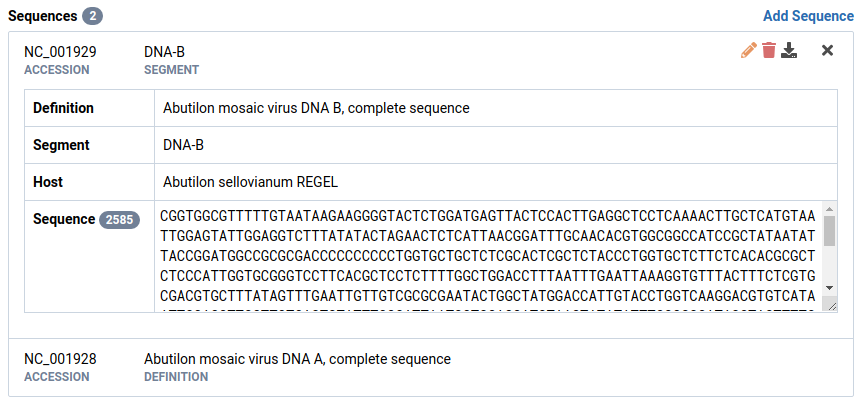
Click Save
The change to the Segment field is reflected in the sequence record and the sequence header contains the segment name instead of the sequence definition.
-
Set the segment for the other sequence
When this has been done, the Sequences list is ordered according to the schema.

Reorder a schema
-
Select an OTU and isolate and note the current sequence ordering
These sequences have a segment set and are ordered based on the OTU schema.
-
Navigate to the OTU Schema tab
The segments are currently ordered alphabetically.
-
Drag and drop the segments to reorder them
-
Return to the isolate from Step 1
Note that the sequence ordering has changed to match the schema.

Remove a segment
-
Navigate to the schema page for an OTU
-
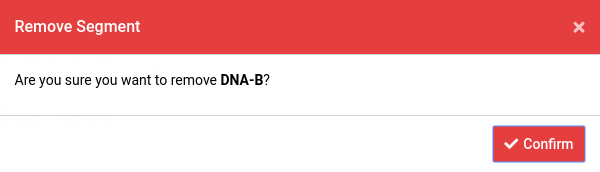
Click the icon on a segment
The Remove Segment dialog appears.
-
Click Confirm button to remove the segment
The segment is removed from the schema segment list.
